About Me

Monday, October 31, 2011

Monday's card

Here is Monday's card.  Are you getting interested?  Thinking you need this stamp set and punch?  Class is Nov. 10th but you need to let me know if you want to take this class by Nov. 3rd.  I need time to order the supplies.  If you check out my class schedule you'll see details about the class.

Sunday, October 30, 2011

Sunday's card


I'm still learning this camera so sorry for this blurry picture.  I hope I'll get better.

Saturday, October 29, 2011

Another stocking card.


Here's the card for today.  Hope you like it.

Next class

There is no regular card class in Nov and Dec but I do have 3 different classes.  The first one is a stamp camp using the Stitched Stocking stamp set and the Stocking Builder punch.  To get you thinking about how much you want this set I've decided to post one new card every day using this stamp set and punch.  Here is the first one.

Wednesday, October 26, 2011

Instructions

I know that I said that I would post the directions for the Diamond Fold card on Sunday but sometimes real life just jumps in and interfers.  Anyway here are the instructions.  If you make a card using this design I would love to see it.
Start with a 4 X 12 piece of card stock.  So you can get three cards from one 12 X 12 sheet.


Score the card stock at 2", 4", 8" and 10".  And mark it at 6".  Then score it from the 6" mark to the top and bottome of the 2" and the 10" score lines.  See the diamond in the middle?  That's the front of your card.


 Now fold on the score lines so that it looks like this picture above.


Now fold the diagonal lines like the picture above.


It should look like this.


Now your finished folding and ready to decorate.  Hope this is real clear but if you have problems just give me a call.  Or bring it over sometime and I'll show you.  But I'm sure that you won't have any problems.  It's really quite simple.  There is one little caution that I will add.  The Whisper White card stock is not as thick and the other colors so use a light hand when scoring or you'll end up with ripped paper.  I'm speaking with the voice of experience.

Saturday, October 22, 2011

Funky Folds

Here's another idea that I found on the web.  I'll try and find out where it was so that I can give credit to the person I copied from.  And, yes Sandi, I will put the instructions on here tomorrow.

Thursday, October 20, 2011

Christmas card

I found this idea on someone's blog this morning and I love it.  The pinecone is made with the scallop oval punch and the greenery is the snowflake punch.  Add some Frostwood Lodge DSP and it's a beautiful card.  I think I'll have to make more of these.

Tuesday, October 18, 2011

Christmas gifts

Here's a cute little photo albumn that would make a great Christmas gift or just a stocking stuffer.  And it's super easy to make.  If you want to see a video of one that was made with supplies other than Stampin Up! you can go to www.paperwishes.com.  I watched the video and decided to try it. 
So you need a sheet of cardstock that is 12" x 6".  Then you need to score it at 4", 41/2", 5", 51/2", 6", 61/2", 7", 71/2" and 8".  And the Simply Scoring tool makes this a really easy chore.


Then fold all the score lines and your card stock will look like this.

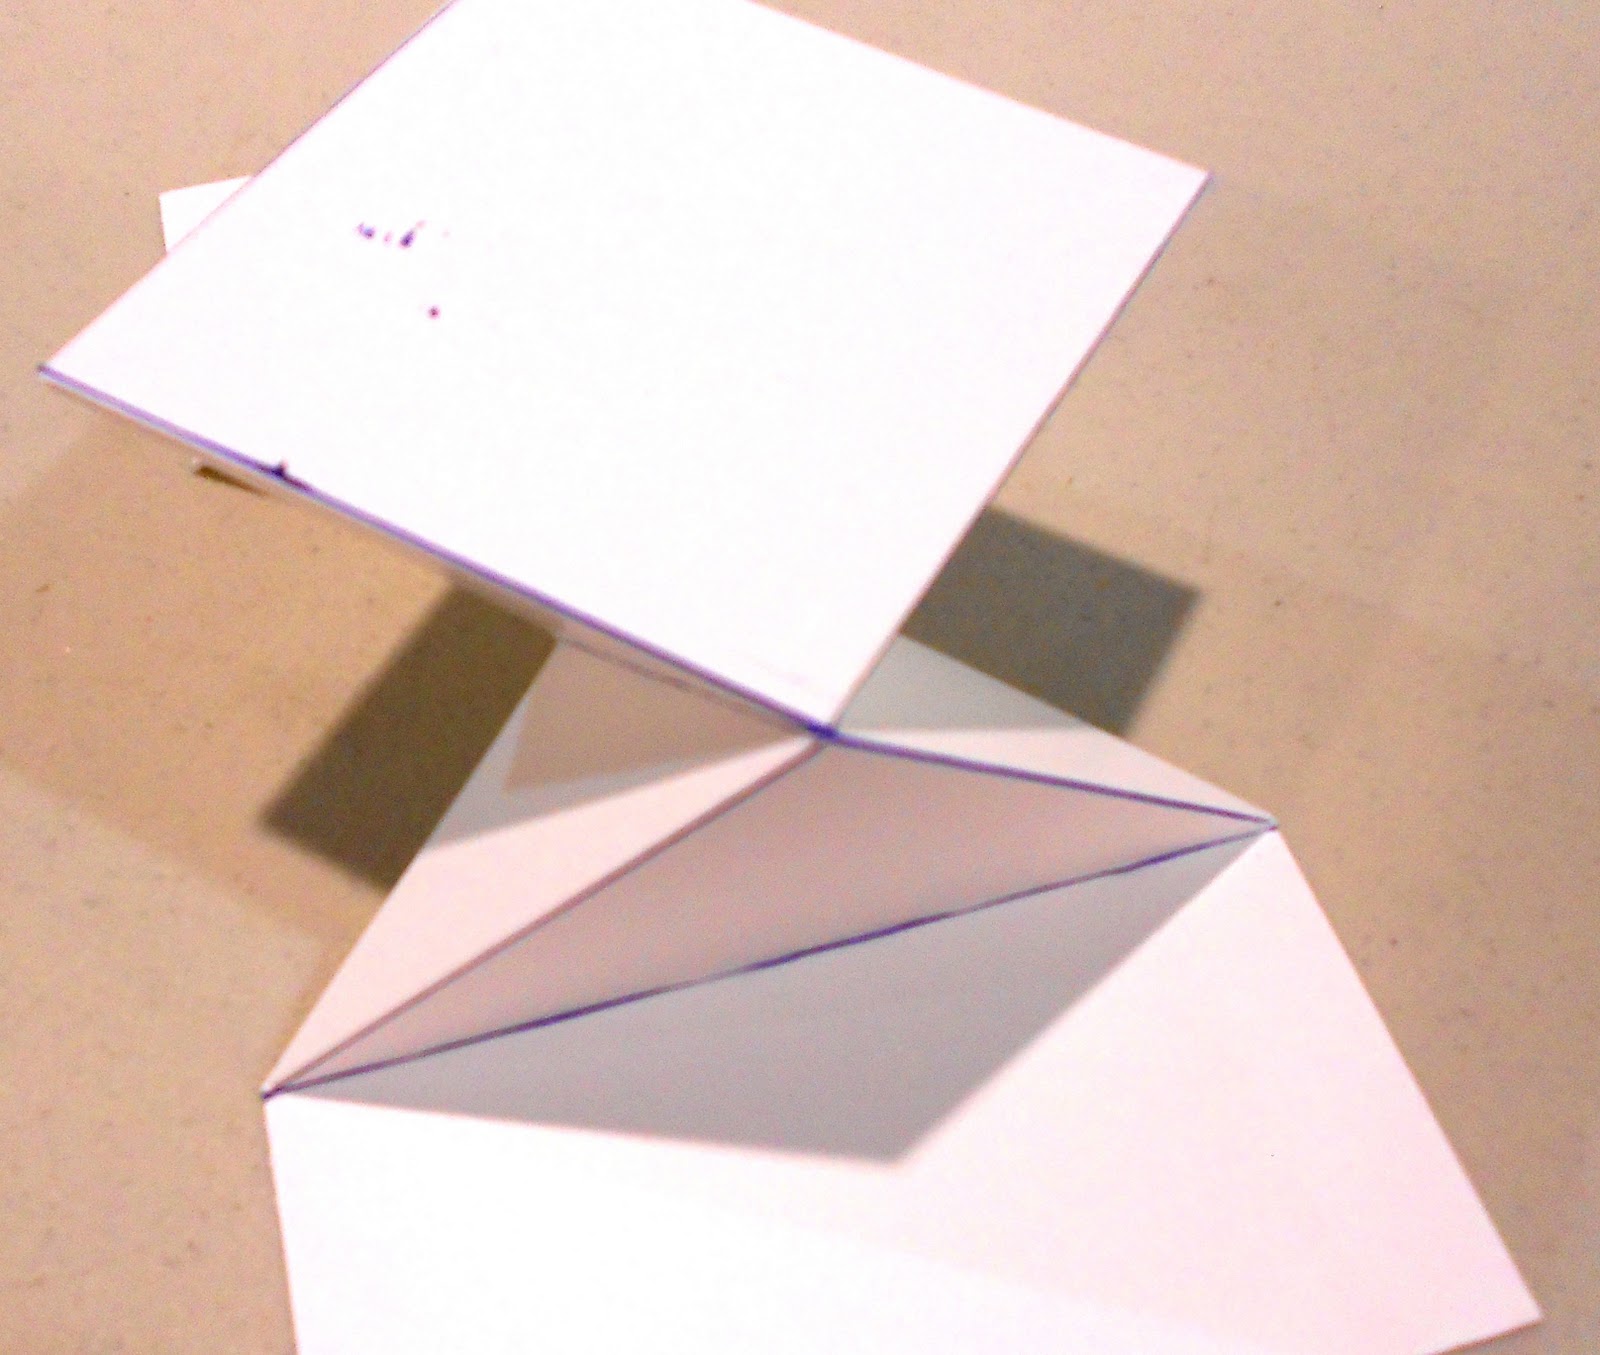
 Here's a close up of the folds.


 Now you're going to add the pages.  Just adhere the page to the first accordian fold.


Just add a sheet to each fold.  You'll have 4 pages.  And this is what it will look like.


Now in the video they left it like this and put a belly band on it but I didn't like it so loose so I added a spine to it.  Just cut a piece of card stock 6" x 1 1/2" and adhere it to the spine of the book.


And then decorate it.  You can decorate the pages inside also or just leave them plain and add pictures. 


Friday, October 14, 2011

Lollies and the Simply Scoring tool


Well, Blogger is driving me crazy.  Why can't I move the first picture down so I can type above it?  Anyway here is a Halloween wreath that I made using some paper and the Simply Scoring Tool.  I was so excited at convention when I won this and then Ronda asked me to bring it to a meeting and demonstrate something.  Well, I made one of the big flowers and I decided that I probably wouldn't make any more because it was just to much work.  Now I've got to eat my words because I've been playing with it and I love making the lollies.  Maybe it's because these are smaller than the big flower that I did before.  So here's my wreath and some close up's of some of the details.  I've seen some on the web that are prettier but I like this one.  Next I'll have to try a Christmas one


Well, I had to at least try some Christmas lollies.  I don't really like the jingle bells on this one but I'll try something else instead of the bakers twine to put the bells on.


This is my version of one that is on the cover of the Somerset magaznine.  They had a much bigger snowflake but I don't think it was paper. 

Tuesday, October 11, 2011

Christmas Stamp A Stack

Here's the cards that we'll be doing at my Christmas Stamp A Stack next week.  You'll be making 4 each of these 5 designs.  The class is $30.00 and includes the envelopes.  Because this involves a lot of work for me I need you to let me know by Monday at the latest, please. 


Friday, October 7, 2011

Sneek Peek

I still haven't figured out all the features of the new software for my camera so these pictures aren't quite the right color.  For instance, this first card is Whisper White and Melon Mambo.  And then, look at the glitter paper.  Did you know that you can color the glitter paper?  It's really quite simple and I thank Jill Olsen for posting a video on her blog so I could see it.  Anyway, you just put a drop or two of classic reinker on some plastic and then use a blender pen to paint the glitter paper.  Then you have to use a heat gun to dry it.  I tried just blotting up the extra ink but it removed to much color.  The color will be lighter than the ink.  On this stocking top, heel and toes I used Melon Mambo reinker and you can see how much lighter it came out.  So go ahead and try it.  It's lots of fun to see what you get.


And here's one of my swap cards that I took to Ronda's Creative Convention.  The theme was anything to do with a stocking.  I made this reindeer using the new Stocking Builder punch.  Just turned the stocking upside down and added some antlers that are made with the snowflake punch.


If you come to my stamp camp on Nov 10th you'll get to make both of these cards.
And now here's some beautiful scrapbook pages made by the very talented Francis Kukulis.  I just love these.  You'll have to excuse the glare in the middle because I still haven't figured out how to turn the flash off on my camera. 


The background paper used is the Spice Cake out of the Holiday Mini.

More classes

I've added a couple of new classes to my calendar.  So here's a review for the rest of the year. 
Oct 20th is a Christmas Stamp A Stack.  You'll make 20 cards, 4 each of 5 different designs, plus envelopes for $30.00.
Oct 27 is regular card class.  7 cards plus a 3-D items for $12.00.
Nov 10 is a stamp camp.  You'll get the Stitched Stocking stamp set and the Stocking Builder punch.  We'll make 8 cards using this set.  If you want the wood mount set the class will be $45.00.  If you want the clear mount set the class will be $37.00.  
December 1st is tag class.  We'll be making Christmas gift tags.  I don't know yet how many or how much.
December 8 will be a 20 page 6 X 6 Christmas photo album.  This class will be $25.00.
I'll be sending out reminders about these classes as they come up.

Thursday, October 6, 2011

October Specials

I'm pretty sure that you've already heard about the fantastic October recruiting special.  I sent out an email already and it's been popping up everywhere.  It's really simple.  Just sign up to become a demonstrator and you will get the Big Shot FREE.  Or if you already have the Big Shot then you can choose $100.00 in free merchandise.  Think of how many dies you could get for the Big Shot.  And remember there are other advantages to becoming a demonstrator.  There's no further obligation.  Ever.  But if you join you'll get to attend all the Stampin Up! events, you'll get the Stampin Success magazine, you'll get 20% off of everything your order and you get Me!  I'll help you along the way and show you lots of creative ideas and hopefully you'll have such a good time that you'll decide to keep being a demonstrator. 

But the Big Shot is not the only special for October.  There's a special for the Simply Sent kits.  What are they?  Check out pages 192 and 193 in the big catalog.  These kits contain almost everything that you need to make 8 beautiful cards.  There's the cards, envelopes, ribbon, accents and then there's a co-ordinating stamp set that you can buy seperately or just use a greeting that you already have.  You will need an ink pad.  These sets are great if you don't think you have a lot of creative talent or if you ever need some cards in a hurry.  The special is if you buy two of the Simply Sent kits then you get one of the stamp sets for free.  How cool is that.  I have made one of these sets and it was really easy.  If I haven't already given them away I'll take some pictures to show you. 

And while this isn't a special I want you to notice the cookie press that Stampin Up! has.  It's a really nice wood handle with three removeable rubber presses.  I'm not sure that's what they're called but they are rubber and they come off so that you can wash them.  There's a pumpkin, a snowflake and a heart.  I've got the set if you want to see it and feel it.  I haven't made any cookies yet but the weekend is coming.

Monday, October 3, 2011

Creative Covention Display Items

Here's the bag that we got at the Creative Convention.  Inside was the notebook and a bolt of ribbon and a sheet of rhinestones.  We used those for our make and takes.  And Ronda also gave us the bag tags and the charm for our scissors.


And now here's some pictures of some of the things that I had on my display table.  This first picture is of the Beau Chateau material. 


This next picture is the Flirtatious.  I got the pillow idea right off the internet.  Stampin Up! ads are popping up everywhere.  The slippers were made using a Simplicity pattern and they really do fit me.  The night shirt is just iron on's made with Big Shot dies.

These necklaces are made out of the beveled windowpanes and are what I demonstrated.  I really didn't think that hauling a sewing machine down to the convention would be such a great idea. 


And here's my favorite thing that I made.  I used the Timeless Portrait material and a pattern from Country Stitches.  The red tie is removeable so I can put any color tie in that I want to.   The check book cover and eyeglass case are from a Simplicity pattern.

Sunday, October 2, 2011

Stockings

There's a couple of new items in the Holiday Mini that are stockings.  There's a new die for the Big Shot and a stamp set and punch that go together.  Here's some cards using the new stamp set and punch.


And I promised a close up of Tamie's banner.  Here's what it looked like close up.  Every other stocking was pink and every other one was blue.  Aren't these beautiful?

Day two of mini convention

Here's a couple of the make and takes that we've done so far.  I think that I'm going to schedule a stamp camp using the stocking punch and stamp set.  I've seen many, many beautiful cards done with this set.


And of course fall is still in the air so we did a few fall cards.


And one of our guest speakers, Laurie Krauss, showed us this cool technique called faux reflections.  If you would like to learn how to do this just call me and we'll set up a workshop.


And what do stampers do best?  They stamp.  So far I've done a shoe box swap where I received 22 cards.  We've done 24 make and takes with more to come today.  And last night at the chocolate fountain social I swapped 30 cards.  So I've got lots to show you in the next few days.

Saturday, October 1, 2011

More of first day of convention

Here's some more pictures of our first day of the creative convention.  These are more of the display tables that are here.  This first one is Sandi Dailey's table.  She was showing the new background stamps.   Notice the banner on the front of the table.  She had suggested that we each do this and it turned out really cute.


Here is Sandy Haynes table.  She is showing the Big Shot.  On the left hand side of the table are really cute candy containers.  I'll show some close up's of those later.

 
Here's Tami Ackerson's table.  She is showing the new stocking die and punch.  Her table is so beautiful.  And she did a lot of this in the last couple of days.  She's like me and works best under pressure.  But she's under pressure a lot of the time.  She's Ronda's assistant and she cut and packed all the supplies for 80 ladies to do 24 make and takes and one Christmas albumn.  I'll show you the albumn sometime.  It was funny because I signed up for the convention way back in July and then totally forgot that I had signed up for the extra classes.  So Sandy Haynes and I were out by the pool relaxing and talking and Tami came out and asked us if we were going to do our albums.  I had forgotten and so had Sandy.  Needless to say I was one of the last ones done.


 And here's her banner.  It's beautiful.


And here's why this convention is such a great idea.  These are our guest speakers along with Ronda.  They were all in the top 20 demonstrators in the company this last year.  Maggie Patterson was # 2 in Canada, Laurie Krauss was # 13 in the U.S. and Ronda was # 11 in the U.S.  I think.  I might be a couple of numbers off but they were in the top 20 along with Tami Ackerson.  She also was one of the speakers.


Well, breakfast is calling my name but I can hardly wait until I have time to post something about the new promotions that are going on in Oct.  Your going to be so surprized.  Let me just hint that you can get the Big Shot FREE.  I'll let you know the details as soon as I find a couple of minutes free.